

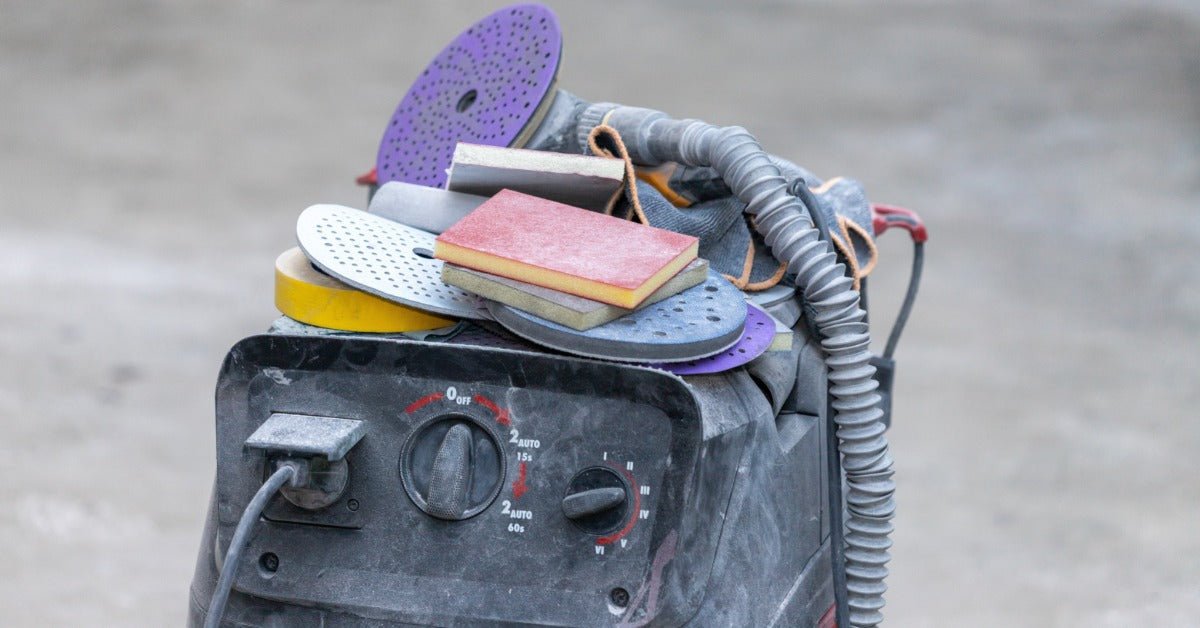
When you want your car to look its best, selecting a sanding method makes all the difference. Whether you're a seasoned car mechanic or a DIY auto repair newbie, understanding the benefits and downsides of wet and dry sanding will help you make the best decision. Discover which to choose between wet sanding vs. dry sanding to get the perfect finish for your vehicle!
Wet Sanding
Wet sanding involves using water as a lubricant to minimize scratches and produce a smooth finish. This method is ideal for removing deep scratches, smoothing out peeling paint, and preparing surfaces for final polishing.
The pros of wet sanding include few dust particles in the air and a fine, controlled finish. However, it is time-consuming and requires a steady supply of water. Essential tools include high-grit sandpaper, a spray bottle of water, and a rubber sanding block.
For the best results, wet sanding typically calls for higher-grit sandpaper sheets in the 1000–3000 grit range. Start around 1000–1500 grit to level the surface, then work up to 2000–2500 grit for smoothing, finishing with 3000 grit before polishing. The finer the grit, the smoother the final result. Just be careful not to cut through the clear coat.
When To Use Wet Sanding Before Painting
Wet sanding is best applied after a primer coat has fully cured and before your color coat goes on. You can also apply it after the final clear coat when you're chasing a mirror-like finish.
When To Use Wet Sanding for Rust
Wet sanding generally isn’t recommended for active rust removal, as water can accelerate oxidation. But once rust has been treated and the surface is primed, wet sanding helps smooth the repaired area before repainting.
Dry Sanding
Dry sanding, on the other hand, involves using sandpaper without water. This method is faster and more convenient than wet sanding, making it ideal for removing old paint and rust and preparing large areas for further work.
The advantages of dry sanding include speed and simplicity, but it may produce a lot of dust and result in deeper scratches if not done carefully. Essential equipment includes automotive sandpaper of various grits, an electric sander, and dust masks for personal safety.
For dry sanding, grit selection depends heavily on the job. Use 40–80 grit for stripping old paint or heavy rust, 120–180 grit for shaping body filler, and 220–400 grit for scuffing primer before a color coat. Sandpaper discs are especially useful for electric sanders when covering large body panels quickly.
When To Use Dry Sanding Before Painting
Dry sanding is your first move in any repaint job. Use it to strip old paint, knock down body filler, or scuff an existing clear coat before applying primer. Always finish with a finer grit (320–400) before moving to primer or paint.
When To Use Dry Sanding for Rust Removal
Dry sanding is the right call for active rust. Start with 80 grit to cut through corrosion, then step up to 120–180 grit to smooth the bare metal before applying a rust-inhibiting primer.

Comparing the Two
When choosing between wet vs. dry sanding, consider factors like finish quality, grit range, dust control, speed, and risk of scratching. Wet sanding typically offers a finer finish with minimal airborne dust, making it perfect for detailed work. However, it runs slower and works best after primer or clear coat has been applied.
Dry sanding, in contrast, is faster and better suited for initial surface preparation like paint stripping, rust removal, and body filler work, though it carries a higher risk of scratching if you're not careful. For example, when restoring a vintage car, you might start with dry sanding to remove old paint. Then, you could perform wet sanding for a smooth finish before painting.
Here's a quick side-by-side comparison:
| Factor | Wet Sanding | Dry Sanding |
| Best For | Final finishing, clear coat, polish prep | Paint stripping, rust removal, body filler |
| Dust | Minimal |
Heavy |
| Speed | Slower |
Faster |
| Risk of Scratching | Lower |
Higher |
| When To Use | After primer/clear coat |
Before primer |
Common Mistakes To Avoid
Even experienced DIYers make common errors when deciding between wet sand vs. dry sand on a car, including:
-
Using wet sanding for rust removal: Introducing water to an active rust area accelerates oxidation. Always dry sand rust first, treat it, and prime before any wet sanding happens.
-
Jumping straight to wet sanding without dry sanding first: Wet sanding can't do the heavy lifting. Trying to remove old paint or heavy surface damage with wet sanding wastes time and burns through paper fast.
-
Dry sanding a finished clear coat: Dry sanding without lubrication on a clear coat creates deep, uneven scratches that are difficult to polish out. This is where wet sanding earns its place.
-
Using dry sanding for final prep before polish: Dry sanding leaves scratches too deep for polish to correct on its own. Always finish with wet sanding before moving to compound and polish.
-
Wet sanding primer before it's fully cured: Sanding primer too soon causes it to ball up and tear, ruining the surface. Wait roughly 24 hours to allow the primer to cure fully before wet sanding.
Best Practices for Safe and Effective Sanding
Safety is paramount when sanding. Protect your hands and face with goggles, gloves, and dust masks. Ventilate your workspace and cover nearby areas to protect them from dust and water. Use consistent, even pressure, and move the sandpaper in circular motions for optimal results. Also, regularly check your progress to avoid over-sanding. Patience and attention to detail are key to achieving the perfect finish with wet and dry sanding.
For added safety, an N95 respirator is strongly recommended over a standard dust mask when dry sanding, as automotive paint dust can contain harmful compounds. When wet sanding, nitrile gloves help protect your hands during prolonged water exposure.

Frequently Asked Questions
Is wet sanding better than dry sanding?
Neither method is universally better—they serve different stages of the process. Dry sanding handles the heavy lifting (rust, old paint, body filler), while wet sanding delivers the a refined finish. Most quality paint jobs use both.
Can you wet sand primer?
Yes. Once primer has fully cured, you can wet sand it with 400–600 grit to create a smooth base before applying your color coat. Avoid sanding through to bare metal.
Can you wet sand clear coat?
Absolutely, and this is one of the most common uses. Wet sanding clear coat with 1500–2000 grit removes orange peel, runs, and minor defects. Follow up with polishing compound to restore gloss.
What grit should I use for wet sanding?
Start with 1000–1500 grit for leveling, move to 2000 grit for smoothing, and finish with 2500–3000 grit before polishing. Always keep the surface wet and use a rubber backing block for even pressure.
Choosing between wet and dry sanding a car significantly affects your car's appearance. Wet sanding offers a finer finish with minimal dust, while dry sanding is faster for initial preparation. Assess your car's needs and condition to make an informed decision and bring out its best appearance.