

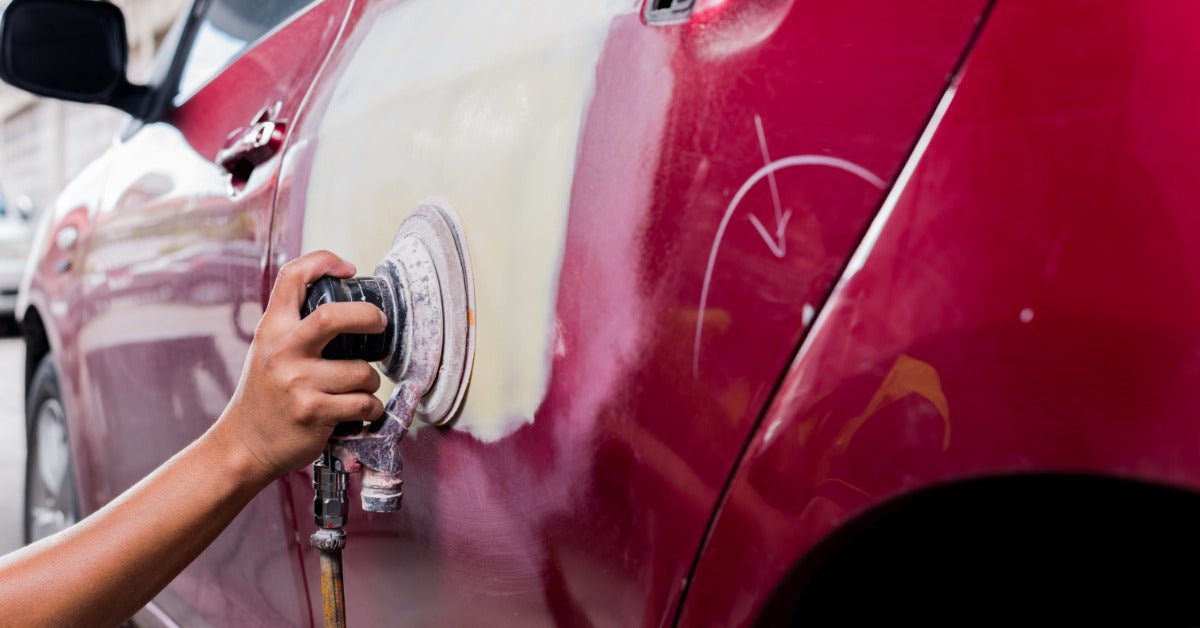
A show-quality automotive finish does not start with the final coat of paint. It starts much earlier, when the surface is being prepared and refined. Every sanding step can affect how smoothly primer, basecoat, and clear coat appear once the job is finished.
Mastering sanding techniques for show-quality paint jobs requires more than simply making a panel feel smooth. The goal is to create a consistent surface while removing defects without introducing new ones. Careful preparation can make the difference between a finish that looks good from a distance and one that holds up under close inspection.
Start With a Clean Surface
Before sanding begins, the work area and vehicle surface should be clean. Dirt, dust, grease, and other contaminants can become trapped beneath sandpaper and scratch the surface as you work. Even a small piece of debris can create a deeper mark that requires additional sanding later.
Use appropriate automotive surface-cleaning products and follow their instructions before starting. Keeping the surrounding work area clean also helps reduce the amount of dust that finds its way back onto the panel.
Cleanliness remains important throughout the project. Removing sanding residue between stages makes it easier to inspect progress and reduces the chance of dragging loose abrasive particles across a freshly refined surface.

Choose the Right Grit for Each Stage
Sandpaper grit has a direct effect on how aggressively material is removed. Coarser abrasives cut faster and can help address substantial imperfections, while finer grits create the increasingly smooth surface needed as the project approaches its finishing stages.
The correct progression depends on the material being sanded, the coating system, the condition of the surface, and the product manufacturer's recommendations. Jumping too quickly from a coarse abrasive to a very fine one can leave deeper scratches behind. Those scratches may become visible once paint or clear coat is applied.
Using quality car sandpaper suited to automotive refinishing can also help produce a more consistent scratch pattern. Whatever abrasive you choose, inspect it regularly and replace it when it becomes clogged, damaged, or ineffective.
Keep Your Sanding Pattern Consistent
Consistency is one of the most important parts of sanding a vehicle for a high-end finish. Working randomly can make it difficult to tell which areas have been adequately sanded and which still require attention.
A controlled, overlapping sanding pattern helps produce more uniform results. When working larger flat areas, changing the direction of your passes can also make surface irregularities easier to identify.
Avoid concentrating repeatedly on one small area unless you are correcting a specific defect. Excessive sanding in a localized spot can change the surface profile and create additional work.
Use a Sanding Block When the Surface Calls for It
Hands naturally follow curves, dips, and imperfections. That can be a problem when the objective is to create a straight, even panel.
A sanding block distributes pressure across a larger area and can help prevent fingertips from creating uneven spots. Blocks are especially useful during preparation stages where maintaining the panel's shape and flatness matters.
Choose a block that fits the panel and the work being performed. A large, rigid block may work well on an appropriate flat surface, while contours and tighter areas may require a smaller or more flexible option.
Let the Abrasive Do the Cutting
Pressing harder does not necessarily produce a better or faster result. Excessive pressure can create an inconsistent scratch pattern, cause the abrasive to load more quickly, and make it harder to maintain an even surface.
Instead, use controlled pressure and allow the abrasive to perform the cutting action. Pay attention to how the sandpaper feels as you work. A noticeable change in cutting performance can indicate that the abrasive needs cleaning or replacement.
Controlled sanding also makes progress easier to evaluate. For show-quality work, removing material gradually is generally preferable to correcting damage caused by overly aggressive sanding.

Pay Attention to Edges and Body Lines
Edges, contours, and body lines require additional care because material can be removed from these areas quickly. Applying the same pressure used on a broad, flat panel can lead to excessive sanding along raised or narrow areas.
Adjust your technique as you approach these sections. Use lighter pressure and select sanding tools that give you adequate control.
It is also important to understand the coating beneath the abrasive. If you begin exposing an underlying layer unexpectedly, stop and evaluate the area rather than continuing automatically. Catching an issue early can prevent a small correction from becoming a larger refinishing problem.
Use Guide Coats to Identify Imperfections
One challenge of surface preparation is finding defects that are difficult to see or feel. A guide coat can provide a visual reference during appropriate sanding stages and make low spots, scratches, and other inconsistencies easier to identify.
As the surface is sanded, the guide coat is removed from higher areas while remaining visible in imperfections. This gives the person doing the work a clearer picture of where additional attention may be needed.
Follow the directions for the specific guide coat and refinishing system being used. The goal is not simply to remove the guide coat as quickly as possible, but to use it as information about the condition of the surface.
Prepare the Surface for the Finish You Want
A high-gloss finish tends to make surface defects easier to see, which is why careful preparation matters so much. Paint and clear coat should not be treated as substitutes for proper surface refinement.
The most effective techniques for sanding a paint job to a show-quality finish focus on consistency, control, cleanliness, and regular inspection. Selecting appropriate abrasives, using the right sanding tools, and taking time to check your work between stages can help build a better foundation for the coatings that follow.
For DIY restorers and body shop professionals alike, patience during surface preparation pays off in the final appearance. Follow the recommendations for the specific primers, paints, clear coats, and abrasives in your refinishing system, and treat every sanding stage as part of the finished result rather than merely a step before painting.