

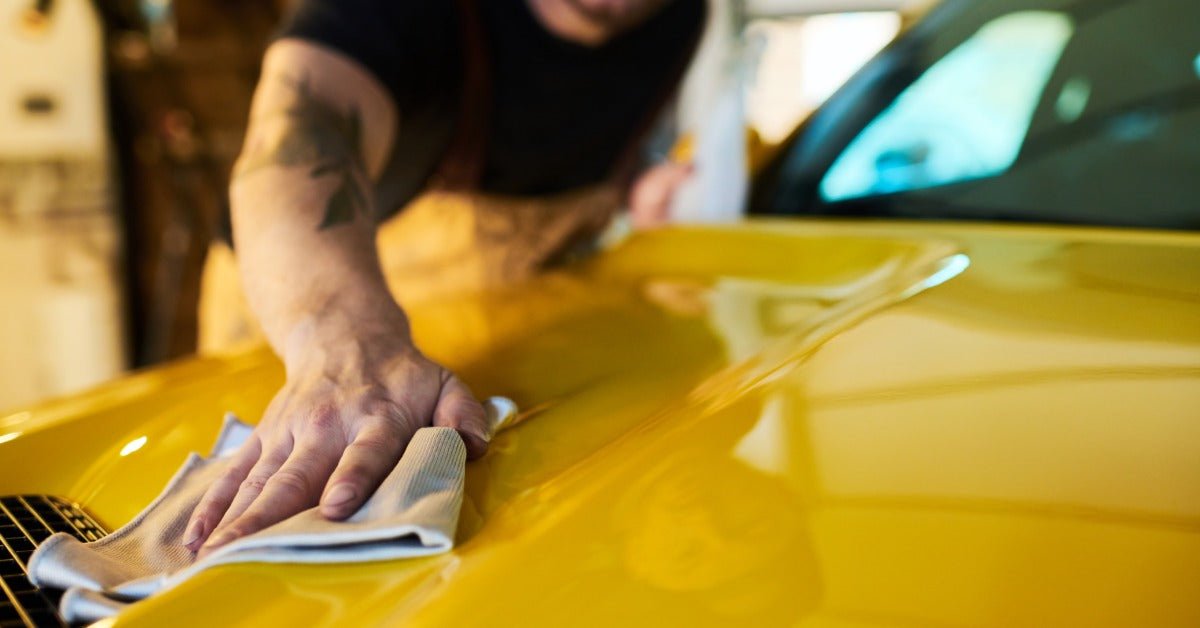
A quality automotive finish depends on more than premium paint and careful spraying. Every product used during the refinishing process plays a role in the final appearance, including paint thinner. Choosing the wrong thinner or using it incorrectly can create defects that range from minor cosmetic flaws to complete paint failure. Whether you're handling a small touch-up or refinishing an entire vehicle, understanding the most common mistakes helps protect both your time and your investment.
Many paint problems that appear after spraying can be traced back to improper thinner selection or application. By recognizing the most common paint thinner errors that can ruin auto finishes before they happen, DIY enthusiasts and professional body shops alike can produce smoother, longer-lasting finishes while reducing costly rework.
Why Paint Thinner Matters
Paint thinner is designed to adjust the viscosity of compatible coatings so they flow properly during application. It also affects how quickly the paint evaporates, levels out, and cures. Using the correct product helps the paint atomize evenly through the spray gun while allowing sufficient time for the finish to settle before drying.
Every coating system is engineered to work with specific reducers or thinners. Manufacturers carefully formulate these products to achieve predictable results under different temperatures and humidity levels. Substituting an incompatible thinner may seem like a minor shortcut, but it often creates significant finishing problems that are difficult to correct once the paint has cured.
Using the Wrong Type of Thinner
One of the most common mistakes is assuming all paint thinners perform the same function. Different automotive coatings require different solvents, and using a general-purpose thinner instead of the manufacturer's recommended product can negatively affect adhesion, gloss, and durability.
An incorrect thinner may evaporate too quickly or too slowly. Fast evaporation can prevent the paint from flowing together smoothly, leaving a rough surface or dry spray. Slow evaporation may cause runs, sags, or solvent trapping beneath the surface. Following the coating manufacturer's specifications helps eliminate unnecessary guesswork and improves consistency throughout the project.
Ignoring Temperature and Humidity
Environmental conditions have a major impact on paint performance. Paint thinner that works perfectly on a cool spring morning may create problems during the heat of summer.
Higher temperatures accelerate solvent evaporation, which can lead to rough finishes, orange peel, or poor blending. Cooler temperatures slow evaporation, increasing the risk of runs or extended drying times. Humidity introduces additional challenges by affecting moisture levels during application, sometimes contributing to blushing or cloudy finishes.
Many manufacturers offer fast, medium, and slow reducers specifically designed for different weather conditions. Matching the thinner speed to the environment gives the coating the proper amount of time to level before curing.

Mixing Incorrect Ratios
Even when using the correct products, inaccurate mixing ratios can ruin an otherwise well-prepared paint job. Adding too much thinner reduces the coating's ability to build proper film thickness, weakening coverage and durability.
Insufficient thinner creates paint that is too thick for proper atomization. The spray pattern becomes uneven, increasing the likelihood of orange peel, heavy texture, or inconsistent color distribution.
Always use graduated mixing cups or measuring tools rather than estimating by eye. Precise ratios produce repeatable results and help maintain the manufacturer's intended performance characteristics.
Skipping Compatibility Checks
Modern automotive refinishing often involves primers, sealers, basecoats, clear coats, and specialty coatings from multiple product lines. Assuming these materials are automatically compatible can create unexpected problems.
Different solvent systems may react with existing coatings, causing wrinkling, lifting, or poor adhesion. Testing products on a sample panel before applying them to the vehicle provides an opportunity to identify compatibility issues without risking the final finish.
Taking a few extra minutes to verify product compatibility saves considerable time compared to sanding and repainting damaged areas.
Using Dirty Equipment
Even the correct thinner cannot compensate for contaminated spray equipment. Old paint residue, moisture, oil, or debris inside spray guns and mixing containers can introduce imperfections into fresh coatings.
Paint thinner is commonly used during equipment cleaning, but improper cleaning procedures often leave behind contaminants that transfer directly into the new finish. Thoroughly cleaning spray guns, filters, cups, and hoses between jobs minimizes contamination and helps maintain consistent spray performance.
Routine equipment maintenance also extends the life of expensive spray equipment while improving overall finish quality.
Applying Paint Too Quickly
Many painters rush from one coat to the next without allowing proper flash time. Paint thinner continues evaporating after application, and interrupting that process can trap solvents beneath additional layers.
When solvents become trapped, bubbling, dieback, loss of gloss, or adhesion issues may develop days or even weeks after the repair. These problems frequently require complete refinishing rather than simple spot repairs.
Following recommended flash times gives each coat sufficient opportunity to release solvents before additional material is applied.
Over-Thinning to Stretch Materials
Some people attempt to make paint go farther by adding excessive thinner. While this may appear economical initially, it often reduces hiding ability and creates inconsistent coverage.
Excessively thinned coatings require additional coats to achieve proper color and opacity, consuming more labor while increasing the chance of defects. Thin films may also chip more easily and provide less protection against weather exposure.
Properly mixed coatings produce stronger, more durable finishes while delivering the appearance manufacturers intended.
Poor Surface Preparation
Paint thinner cannot compensate for inadequate surface preparation. Dirt, wax, grease, silicone contamination, and sanding residue interfere with adhesion regardless of how carefully the paint is mixed.
Cleaning the surface thoroughly before painting removes contaminants that could cause fisheyes or adhesion failure. Sanding with the appropriate grit creates the mechanical profile necessary for coatings to bond securely.
Quality preparation remains one of the most important factors in achieving professional-looking results.

Misusing car paint thinner
Some people use car paint thinner interchangeably for cleaning, degreasing, thinning coatings, and removing old paint. While it has multiple legitimate applications, using it for purposes outside manufacturer recommendations may damage sensitive surfaces or leave unwanted residue.
Certain plastic components, rubber trim, and previously painted finishes can be softened or stained by aggressive solvents. Before applying any thinner to finished surfaces, verify that the product is suitable for the intended material and follow all safety precautions outlined on the label.
Using the right solvent for each task protects surrounding components while improving overall repair quality.
Failing to Protect Fresh Paint During Curing
The painting process does not end when the final coat is sprayed. Fresh finishes remain vulnerable while solvents continue evaporating and coatings fully cure.
Dust, moisture, insects, and physical contact can permanently damage soft paint during this stage. Keeping the vehicle in a clean, controlled environment allows the finish to harden without unnecessary contamination.
Avoid washing, waxing, or exposing newly painted surfaces to harsh conditions until the manufacturer recommends it is safe to do so.
Preventing Costly Finishing Mistakes
Avoiding thinner-related problems begins with careful planning rather than quick fixes. Reading product technical sheets, measuring accurately, monitoring weather conditions, and maintaining clean equipment all contribute to better outcomes.
Small adjustments throughout the refinishing process often make the difference between a smooth, durable finish and one requiring expensive repairs. Investing time in proper preparation also reduces wasted materials and improves efficiency from start to finish.
Professional-quality results come from following proven procedures consistently instead of relying on shortcuts.
Avoid Critical Mistakes
A flawless automotive finish depends on attention to every detail, and paint thinner deserves just as much consideration as the paint itself. From selecting the correct product to following recommended mixing ratios and environmental guidelines, each decision influences the final appearance and durability of the coating. Understanding common paint thinner mistakes that damage automotive finishes helps prevent defects before they happen while producing smoother, longer-lasting results.
Whether you're completing a restoration, repairing collision damage, or refreshing aging paint, avoiding these common errors will improve consistency and reduce unnecessary rework. Careful preparation, quality materials, and patience remain the foundation of every successful automotive refinishing project.