

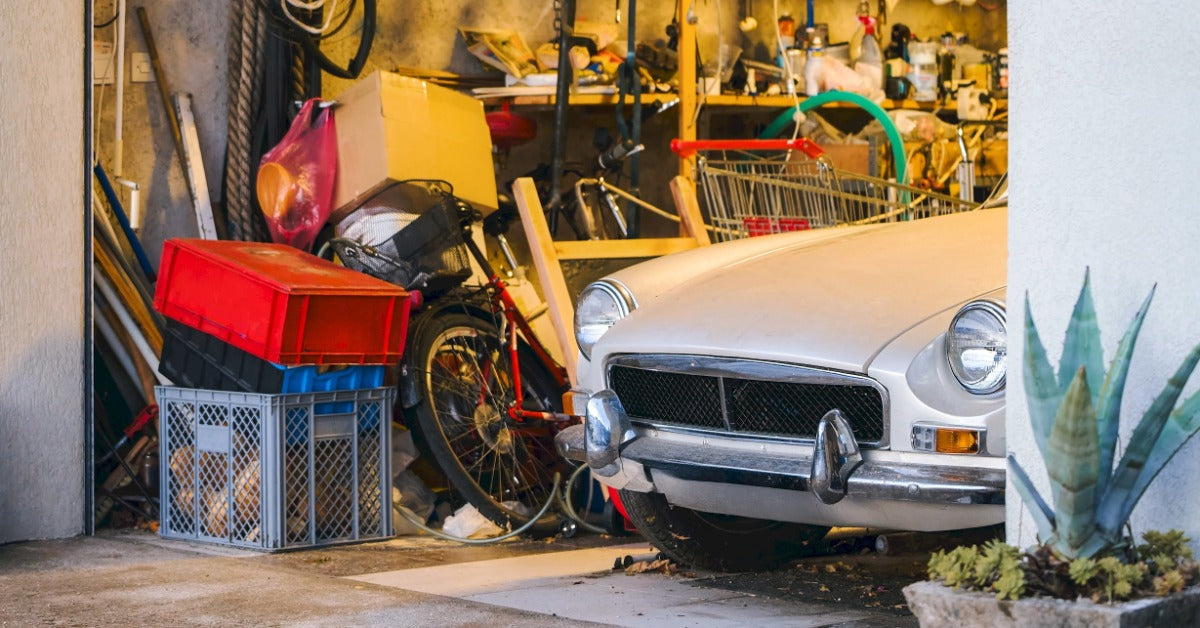
Restoring a vehicle at home takes patience, skill, and plenty of preparation. While having the right tools matters, the garage itself can have just as much influence on how smoothly a project moves forward. A workspace that is poorly lit, cluttered, or difficult to keep clean can turn straightforward restoration work into a frustrating process.
Making a few practical improvements can create a garage that is safer, more organized, and better suited for refinishing and restoration tasks. The best upgrades do not necessarily require rebuilding the entire space. Instead, they focus on making the garage easier to work in from the beginning of a project through the finishing stages.
For enthusiasts who regularly tackle paint, body, rust prevention, and refinishing projects, these garage upgrades evert serious DIY restorer needs can help turn an ordinary home garage into a more functional restoration workspace.
Start With Better Garage Lighting
Good lighting is one of the most useful improvements you can make to a restoration garage. Shadows and poorly illuminated areas can make it difficult to evaluate surfaces, especially during sanding, body preparation, priming, and painting.
Overhead lighting should provide even illumination across the primary work area. Bright LED fixtures are a practical option because they can provide substantial light without generating as much heat as some traditional lighting technologies. Positioning multiple fixtures throughout the garage can also reduce shadows around the vehicle.
Portable work lights provide another level of flexibility. They can be moved around panels and positioned at different angles when inspecting bodywork. This is especially helpful when looking for sanding marks, surface imperfections, dents, or inconsistencies that may be difficult to see under overhead lights alone.
Improve Ventilation and Airflow
Many restoration jobs involve dust, fumes, and airborne particles. Sanding body filler or primer can generate significant amounts of dust, while coatings and related products may produce vapors that require careful handling.
A well-planned garage should have appropriate ventilation for the work being performed. Ventilation needs can vary significantly depending on the products and processes involved, so always follow product labels, safety data sheets, and equipment instructions.
Ventilation should never be treated as a substitute for proper personal protective equipment. Respirators, eye protection, gloves, protective clothing, and other PPE should be selected according to the materials being used and the manufacturer's safety requirements.
Better airflow can also make the garage more comfortable during long projects. However, airflow needs to be controlled around refinishing work because excessive moving air can carry dust and debris onto prepared or freshly coated surfaces.

Create Dedicated Work Zones
A garage becomes easier to manage when different activities have their own areas. Instead of performing every task at the same bench, consider separating dirty preparation work from cleaner assembly and finishing tasks whenever space allows.
A sanding and preparation area, for example, will naturally accumulate dust. Keeping clean supplies and sensitive materials away from that zone can reduce unnecessary contamination. A separate workbench can provide a cleaner location for organizing smaller parts or preparing materials.
Even a small garage can benefit from basic zoning. The goal is not to create separate rooms but to establish a logical workflow. Knowing where certain tasks happen makes cleanup easier and helps keep tools and materials from spreading across every available surface.
Upgrade Your Storage System
Restoration projects can quickly fill a garage with abrasives, masking materials, coatings, applicators, hand tools, replacement parts, and other supplies. Without organized storage, finding the right item can become a project of its own.
Wall-mounted cabinets, shelving, pegboards, and drawer systems make it easier to assign specific locations to frequently used supplies. Keeping tools visible or clearly labeled can also reduce the amount of time spent searching during a job.
Storage conditions matter for refinishing materials as well. Products should always be stored according to manufacturer directions, including any requirements related to temperature, ventilation, ignition sources, or container handling.
Organization is especially useful when maintaining an inventory of automotive restoration products for multiple projects. Knowing what you already have helps prevent duplicate purchases while making it easier to notice when frequently used supplies are running low.
Add a Durable Workbench
A sturdy workbench can become the center of a well-equipped restoration garage. It provides a dedicated surface for preparing components, organizing tools, masking smaller parts, and handling countless other jobs.
Choose a bench that can withstand the type of work you plan to perform. Stability matters more than appearance. A work surface that moves or flexes under pressure can make detailed tasks unnecessarily difficult.
The area around the bench deserves attention too. Good task lighting, conveniently located storage, and accessible electrical outlets can make the workstation considerably more useful. Keeping frequently used equipment close to the bench can also reduce unnecessary movement around the garage.

Give Dust Control More Attention
Dust is difficult to avoid during restoration work, but controlling it can make a major difference. Sanding dust can travel throughout a garage and settle on tools, shelves, supplies, and vehicle surfaces.
Regular cleaning should be part of the workflow rather than something saved until the project is finished. Appropriate dust extraction or collection equipment can also help control debris at its source during compatible sanding operations.
Avoid allowing dust to build up in corners, on shelving, or around the vehicle. Before moving from dusty preparation work to cleaner refinishing stages, thoroughly clean the work area and follow appropriate preparation procedures for the coating system being used.
A cleaner workspace does more than improve appearances. It makes it easier to keep prepared surfaces clean and prevents clutter and debris from interfering with the next stage of a project.
Build a Garage Around Your Restoration Workflow
You do not need to install every possible shop feature at once. The most useful improvements are the ones that address problems you regularly encounter during your own projects.
Start by evaluating how you currently use the space. Poor lighting might be the biggest obstacle for one restorer, while another may need better storage or a more effective way to manage sanding dust. Addressing the most persistent problems first allows the garage to improve alongside your skills and projects.
The essential garage improvements for every serious DIY vehicle restorer are ultimately about creating a space that supports careful, organized work. Better lighting, storage, ventilation, cleanliness, electrical access, and safety preparation can all make restoration projects easier to manage.
A functional garage does not need to look like a professional body shop. It simply needs to support the work you want to accomplish. With thoughtful upgrades and attention to product and equipment requirements, a home garage can become a capable workspace for projects ranging from minor refinishing jobs to extensive vehicle restorations.