

Automotive paint jobs require attention to detail because every step directly affects the final result. Even the smallest mistake in measurement or mixing can lead to inconsistencies in color, texture, or durability. The tools and techniques you use are so important, especially when preparing the paint.
An important tool for achieving a professional finish is the auto paint mixing cup. It helps with accurate measurement and mixing of paints, so you can create the perfect blend for your project. Whether you’re an auto body shop owner or a DIYer working on a restoration, knowing how to use an auto paint mixing cup can save time, reduce waste, and improve your results. This guide walks you through preparation, mixing, straining, and testing to achieve a polished, professional paint job.
Prepare for Safe Mixing
It’s important to work safety when handling paint and other ingredients so that you protect yourself from harmful chemicals. These substances may contain volatile organic compounds (VOCs) that can pose risks to your health if not handled correctly. The chemicals can irritate your skin, eyes, and respiratory system or cause long-term health issues with prolonged exposure.
Equipping yourself with safety gear is necessary to avoid accidents or health risks. Wear a long-sleeved shirt to avoid contact with your skin, and put on nitrile gloves that resist chemical exposure. Safety goggles or glasses are essential for protecting your eyes against splashes. Finally, wear a respirator to protect your respiratory system. Inhaling paint fumes can be hazardous, so ventilation and respiratory protection are vital.
Set Up Your Workspace

Choose an area that is clean, dust-free, and ventilated. Set up a sturdy table or workbench covered with a protective liner to prevent messes. Temperature matters, too. Work in an environment around 65–75 degrees Fahrenheit, as extreme temperatures can affect how your paint behaves. An organized workspace ensures efficiency, reduces the probability of errors, and keeps your project running smoothly.
Choose a Quality Mixing Cup
A big part of how to use an auto paint mixing cup is making sure you have the right one. Look for durable, solvent-resistant cups with clear measurements. These markings should include ratios for common mixing schemes, such as 4:1 or 2:1. High-quality cups should have lids to prevent contaminants from entering the paint, which is particularly useful if you’re mixing in advance. Investing in reliable mixing cups can reduce waste and deliver consistent results every time you mix.
Gather the Rest of Your Supplies
Now you can gather the rest of the paint components: the base coat, reducer, clear coat, and hardener. They are essential for creating the right mix and achieving professional-grade results for an auto paint job. The base coat provides the color, the reducer thins the paint for application, the clear coat creates a glossy finish, and the hardener supports durability.
In addition, you’ll need a few tools to make the application process smooth. Collect high-quality stir sticks to combine the ingredients and get an even consistency. Strainers filter out impurities or clumps in the paint, which could otherwise ruin the finish or clog the spray gun. Speaking of the spray gun, make sure it’s clean and ready to go! A dirty or malfunctioning spray gun can lead to uneven application and a disappointing final result.
To streamline your workflow and avoid interruptions, keep all these supplies organized and within reach before you begin. The more prepared you are, the more efficiently you can work, and the better your results will be.
Measure the Ratios
Read the instructions for your paint system to determine the correct mixing ratio. The ratios depend on the paint type and project requirements. Common examples include four parts paint to one part hardener or two parts clear coat to one part activator.
Pour each component into the cup carefully, using the measurement markings to guide you. Measuring accurately guarantees the paint will perform as expected in terms of durability, drying time, and finish.
Add Components in the Correct Order
The order in which you add ingredients can affect the final mix, so follow the instructions provided by the paint manufacturer. Typically, you’ll start with the base paint, then add the hardener or activator. Finally, mix in the reducer if required. Adding the components in the right sequence ensures they blend well and reduces the risk of chemical imbalances that could cause curing problems.
Taking your time here makes all the difference in the application process and the final result. Layering the components is a simple step that guarantees professional-grade results.
Mix Thoroughly
Once all components are in the cup, it’s time to mix it up! Use a stir stick to combine the materials, and scrape the sides and bottom of the cup to incorporate everything. It’s important to avoid overmixing, as this can introduce air bubbles into the concoction. Bubbles can lead to imperfections in the paint finish.
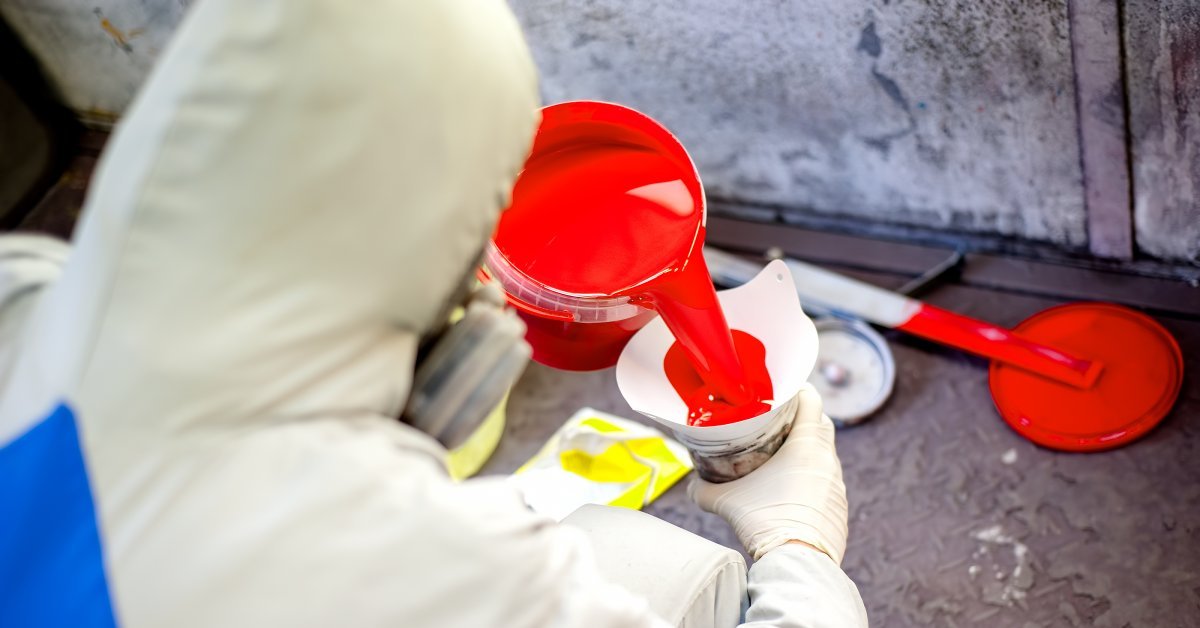
Strain the Paint
Even with meticulous mixing, small particles or impurities might remain in the paint. Luckily, straining the paint removes these contaminants. Place a paint strainer over your spray gun cup and slowly pour the mixture through. It will catch debris that could clog your spray gun or mar the finish.
Don’t skip this step! Straining the paint will lead to a professional-grade application.
Test the Mixture

Before committing your freshly mixed paint to your project, do a quick test. Spray a small amount of paint onto a test surface, and evaluate the consistency, color, and finish. This allows you to confirm that the ratios and mixing were correct and gives you one last opportunity to adjust before committing to the application.
If you’re happy with the result, then you can apply the paint with complete confidence.
Get Started on Your Next Auto Paint Project
Now that you’re equipped with this knowledge, it’s time to put it into action! Get your car restoration supplies from us at Eagle National Supply, and make your next project a success. With preparation, accurate measuring, and consistent mixing, you’ll achieve great results.